How to Set Up a First Gaming PC for a Teenager?
Is your teenager begging for a gaming PC? You are not alone. Many parents feel unsure where to start.
Building a first gaming PC can feel like a big task. But it does not have to be stressful.
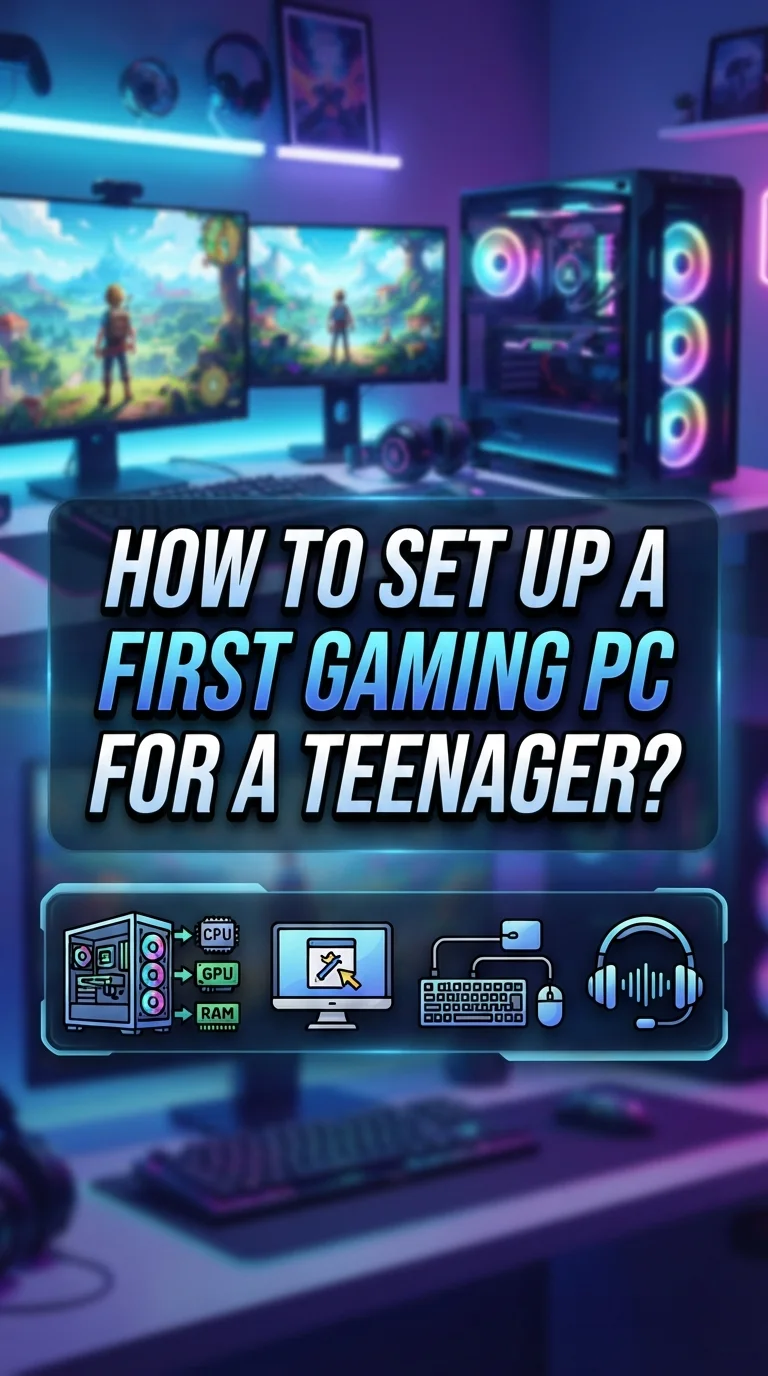
This guide breaks everything down into simple steps. You will learn about the six core components every gaming PC needs.
We cover the CPU, GPU, RAM, storage, motherboard, and power supply. Each part plays a key role in performance.
You will also discover how to set a realistic budget. Entry-level builds can start around $400. Your budget shapes the quality and speed of the final setup.
We will walk through the assembly process step by step. You will also learn how to install the operating system and drivers.
Along the way, we point out common mistakes to avoid. Things like poor cable management or a weak power supply can cause real problems.
By the end, you will know exactly how to build a safe, reliable gaming PC. Your teenager will be ready to game with confidence.
In a Nutshell
Here is a quick recap to keep things simple.
-
Pick the six core parts first. These are the CPU, GPU, RAM, storage, motherboard, and PSU. Every build starts here.
-
Set a clear budget before shopping. Entry-level builds can start small, but your budget shapes performance and quality.
-
Check compatibility between parts. This step prevents wasted money and stops frustrating setup issues later.
-
Prepare a clean, flat workspace. Good lighting and basic tools make assembly much smoother and safer.
-
Avoid common mistakes like weak power supplies. Poor cable management and skipping the motherboard manual also cause problems.
-
Decide between building or buying pre-built. Building teaches valuable skills and often saves money. Pre-built offers quick convenience instead.
-
Install the operating system and drivers last. This final step gets the PC ready for actual gaming.
Follow these points, and your teenager will have a reliable, working gaming PC. You will also understand exactly how each part fits together.
Understanding the Core Components of a Gaming PC
A gaming PC has six core parts working together. Each one plays a specific role in how well your teenager’s games run and how long the system lasts.
The CPU (processor) acts like the brain. It handles all the thinking and decisions your games need. A stronger CPU means smoother gameplay, especially in games with complex worlds and many characters.
The GPU (graphics card) creates all the images you see on screen. This part matters most for gaming performance. A better GPU means prettier graphics and faster frame rates. Your teenager will notice the difference immediately.
RAM (memory) helps the CPU and GPU work together quickly. Think of it as a desk where your computer does its work. More RAM means the system can handle bigger games without slowdowns. Most gaming builds need at least 16GB today.
Storage holds your games, files, and operating system. Faster storage (like solid state drives) makes everything load quicker. Your teenager will appreciate short loading times between game levels.
The motherboard connects all these parts together. It is the foundation that lets everything communicate. Choose one that supports your other components.
The Power Supply Unit (PSU) delivers electricity to every part. Never cheap out here. A weak PSU can damage expensive components or cause sudden shutdowns during gameplay. Your teenager loses progress, and you lose money.
These six parts must work together smoothly. Before buying anything, check that each piece fits with the others. Incompatible parts create frustration and wasted spending. Taking time to verify compatibility saves headaches during assembly and prevents performance problems later.
Planning the Build: Compatibility and Requirements
Before you buy any parts, you need to check if they work together. Compatibility is the key to avoiding wasted money and frustration during setup.
Start by picking your CPU and motherboard. These two must match because different CPUs fit different socket types on motherboards. Your motherboard manual lists which CPUs it supports. Check this first before buying anything else.
Next, verify your GPU fits your motherboard and case. Some graphics cards are large and need extra space. Measure your case’s GPU slot to make sure there is room. Your motherboard should have a PCIe slot available for the card.
RAM compatibility matters too. Your motherboard accepts specific RAM types and speeds. Check the manual to see if it uses DDR4 or DDR5 memory. This detail prevents buying RAM that will not work.
Storage devices connect through SATA or NVMe slots on your motherboard. Make sure your motherboard has open slots for your planned storage drives. Most modern boards support both types, but older models may not.
The power supply must deliver enough watts for all your components combined. Add up the power needs of your CPU, GPU, and other parts. Your PSU should exceed this total by at least 20 percent for safety.
Finally, check that your case fits the motherboard size. Cases accept ATX, Micro ATX, or Mini ITX boards. A mismatch means your motherboard will not fit inside.
Take 30 minutes to verify everything before purchasing. Use online compatibility checkers or the motherboard manual as your guide. This simple step saves hours of headaches later and keeps your budget on track.
Step-by-Step Assembly Process
Before you touch any components, prepare your workspace properly. Find a clean, flat table or desk with good lighting. Static electricity can damage sensitive parts, so work on a non-carpeted surface when possible. Wear an anti-static wrist strap if you have one available.
Gather your basic tools before starting. You’ll need a Phillips head screwdriver, which is the main tool for assembly. Have your motherboard manual nearby. This manual is your best friend during setup. It shows exactly where each component connects and what each port does.
Start by installing the CPU first. Open the motherboard’s CPU socket according to your manual. Align the processor carefully and lower it gently into place. Lock the retention mechanism to secure it. Don’t force anything during this step.
Next, install the RAM sticks into their slots. Push down the clips on each end of the slot. Line up the notch on the RAM with the key in the slot. Press firmly until both clips snap into place.
Mount the motherboard into your case using the provided standoffs. These small spacers prevent the board from touching the metal case. Align the motherboard ports with the case openings before securing it with screws.
Install your storage drives into their bays. Connect the necessary cables to your motherboard. Mount the GPU into its slot on the motherboard. Finally, connect your power supply to all components. Double-check every connection matches your manual before powering on.
Take your time with each step. Rushing causes mistakes. Once everything connects properly, you’re ready to install your operating system and drivers.
Installing the Operating System and Essential Drivers
Installing your operating system is the first software step after your hardware assembly is complete. Your teenager will need an installation USB drive or DVD to begin this process. Most gaming setups use a common operating system that supports gaming well and offers free or affordable options.
Creating the installation media requires a computer and USB drive on another machine. Download the operating system file from the official website. Use the provided tool to write this file to your USB drive. This process takes about 15 to 30 minutes.
Insert the USB drive into your new gaming PC. Restart the computer and enter the boot menu by pressing a specific key during startup. Your motherboard manual shows which key to press. Select your USB drive from the boot options. The installation wizard will guide you through each step.
Follow the on-screen prompts carefully. Your teenager should select the storage drive where the system will install. Choose the correct drive to avoid losing any data. The installation takes 20 to 45 minutes depending on your storage speed.
After the operating system finishes installing, restart your computer. Now comes the critical driver installation step. Drivers are software programs that help your hardware components communicate properly with the system.
Visit your motherboard manufacturer’s website and download the chipset drivers first. Install these before anything else. Next, download and install your GPU drivers from the graphics card manufacturer’s website. These drivers are essential for gaming performance.
Install audio drivers and network drivers from your motherboard support page. Finally, check Windows Update for any remaining system updates. Restart your computer after each major driver installation. Your gaming PC is now ready for games and applications.
Cooling, Cable Management, and Proper Ventilation
Cooling keeps your gaming PC running smoothly during intense gaming sessions. Your teenager’s new PC generates heat from the CPU and GPU. Heat damages components and reduces performance. You need proper cooling to prevent these problems.
Air cooling is the most common choice for beginner builds. Your case includes intake fans that pull cool air inside. Exhaust fans push hot air out of the case. The CPU cooler sits directly on the processor. Most budget builds include a basic CPU cooler with the processor. Make sure it mounts correctly to avoid damaging the CPU.
Cable management affects airflow inside your case. Messy cables block air paths and trap heat. Route power cables behind the motherboard tray when possible. Bundle cables together with velcro straps or clips. Keep cables away from fans so they don’t get caught.
Proper ventilation starts with case placement. Position the PC on a desk or stand, not on the floor or carpet. Dust accumulates faster on the floor. Leave at least 4 inches of space on all sides of the case. This space allows air to flow freely around your PC.
Check your case design before assembly. Some cases have better airflow than others. Look for cases with dust filters on intake fans. These filters catch dust before it enters your system.
After assembly, your teenager should clean the case every three months. Dust buildup reduces cooling efficiency. Use compressed air to blow dust out gently. Never touch components with your bare hands during cleaning.
Good cooling and cable management work together. They keep temperatures low and your gaming PC running reliably for years.
Common Mistakes to Avoid During Setup
Mistakes during setup can damage expensive components or create performance problems. Understanding what to avoid saves time, money, and frustration for your teenager.
Using an inadequate power supply ranks as the top mistake. Many beginners choose a PSU based on price alone. Your power supply must handle not just your current components but also future upgrades. An undersized PSU can fail suddenly or damage your entire system.
Ignoring the motherboard manual causes countless setup errors. Each motherboard has different layouts and requirements. Your teenager should read the manual before touching anything. It shows exactly where RAM slots go, which fan headers to use, and how to connect front panel buttons.
Installing fans incorrectly wastes your cooling investment. Fans should push air into the case from the front and pull air out from the back. Reversed fans create hot spots that reduce performance.
Poor component compatibility creates headaches after assembly. Your CPU socket must match your motherboard. Your GPU needs enough clearance inside your case. Your RAM type must match what your motherboard accepts. Checking these details before purchasing prevents expensive mistakes.
Rushing through cable management reduces airflow inside your case. Loose cables block fan vents and trap heat. Bundle cables behind the motherboard tray using velcro straps or ties.
Forgetting to ground yourself before handling components can cause static damage. Touch a metal part of the case before working inside to discharge static electricity.
Finally, skipping driver installation leaves performance on the table. Your teenager might think the PC works fine, but missing drivers mean slower speeds and potential stability issues.
Taking time with each step prevents costly problems later.
Testing, Troubleshooting, and First Boot Checklist
Your first boot is exciting. Before you power on, take a few minutes to verify everything. Check that all power cables connect firmly to the motherboard, graphics card, and storage drives. Verify your RAM clicks into place with both clips engaged. Make sure your CPU cooler sits level and secure.
Power on your gaming PC and listen carefully. You should hear fans spin up immediately. The display should show your motherboard’s startup screen within seconds. If nothing happens, turn off the power and recheck all connections.
Enter your BIOS menu during startup. This is where your system’s core settings live. Check that your motherboard recognizes all your components correctly. Verify your storage drive appears in the boot list. Look for temperature readings to confirm your cooling system works.
Exit BIOS and proceed to your operating system installation. Insert your prepared USB drive and follow the on-screen instructions. Your teenager should select the correct storage drive for installation. The process takes 15 to 30 minutes depending on your setup.
After installation completes, restart your PC. Your system will boot into the fresh operating system. This is the perfect time to install all necessary drivers from your motherboard manufacturer’s website. Download chipset drivers first, then audio and network drivers.
Test basic functions before gaming. Open your web browser and check internet speed. Launch a simple application to verify everything responds normally. Monitor your temperatures during these initial tests.
Document any unusual sounds or error messages. If problems occur, refer to your motherboard manual for solutions. Most first boot issues resolve quickly with proper troubleshooting. Your teenager now has a functioning gaming PC ready for driver updates and game installation.
Setting Up Safe and Responsible Gaming Habits
Establishing safe and responsible gaming habits protects your teenager’s health, academics, and social life. Start by setting clear time limits for gaming sessions. Most experts suggest 1 to 2 hours per day on school nights and slightly more on weekends.
Create a dedicated gaming space with good lighting. Poor lighting causes eye strain and headaches during long sessions. Position the monitor at arm’s length away and slightly below eye level. Your teenager should take a 20-second break every 20 minutes to look at something far away.
Encourage regular breaks from the screen. Walking around, stretching, or drinking water helps prevent fatigue and maintains focus. Physical activity between sessions keeps your teenager healthy and alert.
Discuss online safety before multiplayer gaming begins. Your teenager should never share personal information with strangers. Explain that usernames should not reveal real names, addresses, or school details. Monitor which games they play and who they interact with online.
Set rules about gaming during meals and homework time. Gaming should never interfere with schoolwork, sleep, or family activities. Establish a charging station outside the bedroom to prevent late night gaming.
Talk about appropriate content for their age. Review game ratings together and understand what each game contains. Some games feature violence, strong language, or other mature themes.
Create a family gaming agreement that lists expectations and consequences. Include screen time limits, break schedules, and online behavior rules. When your teenager helps create these rules, they’re more likely to follow them.
Check in regularly about their gaming experience. Ask what games they enjoy and who they play with. This open communication builds trust and helps you stay informed about their digital activities.
Final Thoughts
Building a first gaming PC for your teenager gives them a real sense of pride. They learn how computers work. They also get a machine built for their needs.
Start with a clear budget. Know what you can spend before you shop for parts. This keeps the whole project focused and stress free.
Compatibility matters more than anything else. Check that your CPU, motherboard, and RAM all work together. A little research now saves big headaches later.
Take your time during assembly. Rushing leads to mistakes. Slow, careful work protects your components and your wallet.
Testing each stage is smart practice. Check connections before you close the case. Confirm the PC boots properly before you install games.
Remember that safe gaming habits matter as much as good hardware. A powerful PC means little without balance and responsibility. Teach your teenager to enjoy gaming without letting it take over their life.
This project is also a great bonding experience. You and your teenager can learn together. Building something with your hands creates memories that last.
Encourage your teenager to ask questions during the process. Let them make some decisions about parts and design. This builds confidence and ownership over their new PC.
Once everything works, celebrate the achievement. Your teenager now has a gaming PC they helped build. They understand how it works and how to maintain it.
This knowledge will serve them well beyond gaming. They now understand basic computer skills that apply to school and future careers.
A first gaming PC is more than a machine. It represents effort, learning, and shared experience between you and your teenager.
Frequently Asked Questions
Is a gaming PC the right choice for my teenager?
Yes, a gaming PC is a solid choice if your teenager enjoys gaming. A proper gaming PC lets them play modern games smoothly. Beyond gaming, these machines work great for schoolwork, video editing, and learning coding. The key is choosing components that match their actual needs and your budget.
What’s the difference between building a PC and buying one pre-built?
Building a PC yourself saves money and teaches valuable skills. Your teenager learns how components work together. They understand their machine better when problems arise. Pre-built PCs offer convenience and come fully assembled. Either choice works well. Building takes more time but builds confidence and knowledge.
How much should I spend on a first gaming PC?
Entry-level builds start around $400. This budget covers basic gaming at decent settings. Higher budgets bring better performance and newer games. Start with what you can afford now. Your teenager can upgrade parts later as their skills and interests grow. Focus on getting compatible components rather than the most expensive ones.
What are the biggest mistakes to avoid during setup?
Don’t skimp on the power supply unit. A weak PSU causes crashes and damage. Read your motherboard manual completely before starting. Don’t rush cable management. Poor cable routing blocks airflow and causes overheating. Handle all components carefully to prevent static damage. Ground yourself before touching circuit boards. Finally, don’t skip driver installation after your operating system boots up.
Can my teenager game online with friends right away?
Yes, but a few things matter first. Internet speed affects online gaming quality. Your components must be powerful enough to handle the games they want to play. Install all drivers and updates before jumping into multiplayer. Set up parental controls and discuss online safety rules beforehand.

Dillip is the founder and editor of CodeAndGen.com, where he simplifies tech for everyday users through in-depth reviews, honest comparisons, and practical buying guides. When he’s not testing the latest gadgets, he’s researching the next big thing in tech to help readers make smarter, more confident purchasing decisions.